When I run SDS PAGE in my lab, I rely on it not just as a routine step but as a precise tool for understanding protein behavior. Over the years, I’ve learned that the clarity of an SDS PAGE gel isn’t an accident—it’s a direct reflection of the decisions I make from sample preparation to staining. In this blog, I want to walk you through the factors that consistently influence gel quality and show you exactly what I focus on when I need crisp, interpretable bands that speak confidently about protein size, purity, or presence.
Clarity in SDS PAGE doesn’t come from one perfect technique. Instead, it’s the sum of many small, intentional steps that make the results sharp enough to trust. Whether you’re troubleshooting smears, fuzzy bands, or distorted lanes, understanding these factors will help you take control of your protein analysis.
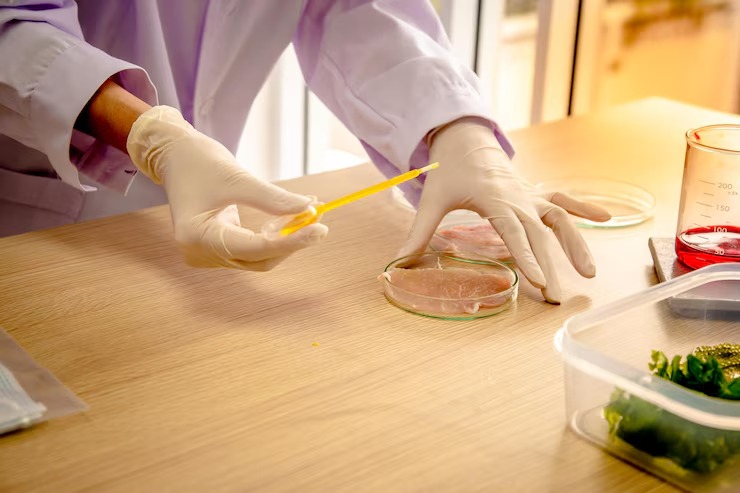
1. The Quality and Preparation of the Protein Sample
When I evaluate SDS PAGE results, I always start by thinking about my sample itself. If the sample isn’t clean, denatured properly, or accurately quantified, the gel simply reflects that chaos.
Protein concentration matters
If I overload protein, especially more than the linear range of the gel, I always see smeared bands or distorted lanes. On the other hand, underloading gives faint or almost invisible bands that are impossible to interpret.
Buffer composition and reducing agents
The sample buffer is more than a formality—it’s essential. SDS coats the proteins uniformly, but without proper heating and reducing agents (like DTT or β-mercaptoethanol), the proteins may not fully denature. That directly affects band sharpness.
When I heat the sample at 95°C for 5 minutes, I get the best clarity. If I skip or shorten this step, I can immediately see the difference on the gel. If you’re troubleshooting this early stage, click for more on optimal sample prep strategies.
2. The Gel Percentage and Matrix Structure
One lesson I learned early in my work is that you cannot force proteins of all sizes to behave perfectly on a single gel percentage. The acrylamide concentration directly determines how well proteins separate.
Matching gel percentage to protein size
- Low-percentage gels (6–8%) → best for large proteins
- Mid-range gels (10–12%) → ideal for most proteins
- High-percentage gels (15–20%) → great for small or peptide-sized proteins
If I choose the wrong percentage, I either compress the bands or cause excessive diffusion. For complex samples, I sometimes use gradient gels because they allow small and large proteins to separate on the same run.
This decision alone can make or break clarity.
3. The Freshness and Polymerization Quality of the Gel
A freshly cast gel always gives me the sharpest results. Old or improperly polymerized gels create:
- smiling bands
- uneven migration
- distorted lanes
These artifacts are unmistakable and frustrating because they cannot be fixed after the run.
Polymerization issues
If TEMED or APS is expired, if oxygen exposure was too high during casting, or if polymerization was rushed, the gel becomes unreliable. I always double-check dates and mix small batches to maintain consistency.
4. Running Buffer Composition and Conductivity
Even something as simple as the buffer can dramatically impact how cleanly the proteins migrate.
If the running buffer is too old or incorrectly diluted, I see effects like:
- uneven migration
- overheating
- smeared bands
I make sure my buffer is freshly prepared, properly mixed, and at the correct pH. Tris-glycine SDS buffer must be exact; small deviations show up quickly on the gel.
5. Voltage and Temperature During Electrophoresis
When I run gels too hot, everything falls apart—literally. Overheating causes smiling, warping, and diffusion of protein bands.
My typical settings
- Stacking gel: ~80V
- Resolving gel: 120–150V
If a gel box is poorly ventilated or if I try to speed up a run by turning up the voltage, clarity suffers. Keeping the system cool is essential, especially for high-percentage gels or long runs.
If you’re comparing different electrophoresis systems or troubleshooting migration issues, click for more on controlled-temperature electrophoresis best practices.
6. Sample Loading Technique and Lane Consistency
Even after mastering chemistry and buffers, technique still matters. I’ve learned that clear gels start with disciplined loading.
Avoiding common loading mistakes
- Introducing air bubbles causes distorted bands.
- Unequal loading across lanes makes comparisons unreliable.
- Leaking or damaged wells create warped migration patterns.
I always load slowly and use loading tips to maintain control. When I’m working with low-concentration proteins, I also make sure the sample settles fully into the well before running the gel.
7. Electrophoresis Equipment Condition
Worn electrodes, uneven gel clamps, or damaged plates can introduce artifacts that mimic protein issues.
I regularly check:
- electrode integrity
- gel cassette alignment
- buffer chamber seals
- power supply calibration
These mechanical issues can disguise themselves as “bad sample prep,” so keeping the equipment in excellent condition is part of producing clean SDS PAGE results.
8. Staining and Destaining Procedures
Once the gel is run successfully, staining becomes the next factor in clarity. A poorly stained gel can hide important details.
Stain selection
I choose different stains depending on what clarity I want:
- Coomassie for general protein visualization
- Silver stain for high sensitivity
- Fluorescent stains for precision quantitation
Overstaining results in dark backgrounds, while understaining misses faint bands. I always follow precise timing for both staining and destaining.
9. Protein Degradation or Aggregation Before the Run
If I’m running proteins that degrade easily, I work quickly and keep everything cold. Proteases can create broken fragments that smear or appear as unexpected bands.
Aggregation has the opposite effect—it creates stuck, large complexes that fail to migrate properly.
Using protease inhibitors, avoiding repeated freeze–thaw cycles, and storing samples correctly are all essential for maintaining clarity.
10. Interaction with Detergents or Lipids
Some proteins don’t behave predictably in SDS because of hydrophobic regions or binding partners. Membrane proteins are the biggest challenge. If they’re not fully solubilized, they produce streaks, smears, or incomplete migration.
I often use stronger detergents during extraction or supplement the sample buffer to prevent clumps.
11. Cross-Contamination Between Samples
Even a small contamination can create double bands, ghost bands, or misleading patterns. I prevent this by:
- using clean pipette tips
- handling samples on ice
- separating prep areas
- labeling strictly
Precision and discipline here directly influence the clarity and credibility of my results.
12. Choosing a Reliable Lab for SDS PAGE Analysis
When work becomes complex or when I need publication-ready gels, I sometimes partner with expert labs. Experienced teams deliver superior clarity, consistency, and interpretation.
One such provider is Kendrick Labs, Inc, known for decades of expertise in electrophoresis and protein analysis. Their workflows, equipment calibration, and reproducibility make a huge difference in data quality when clarity truly matters.
13. Interpreting Band Patterns With Confidence
Once I have a clear gel, the interpretation becomes far easier. Sharp, well-defined bands allow me to:
- estimate molecular weight accurately
- confirm protein purity
- identify degradation products
- evaluate expression levels
- compare treatment groups reliably
When the gel is unclear, every step downstream—from Western blotting to mass spectrometry—becomes more complicated.
Clarity in SDS PAGE, therefore, is not just aesthetic; it’s foundational for trustworthy protein science.
Final Thoughts
When I think about the factors that affect SDS PAGE clarity, I realize that the process is a chain of deliberate steps. Every choice—from buffer freshness to staining technique—becomes visible on the gel.
If your gel isn’t as crisp as you want, the root cause is almost always in this list. When you optimize each factor, the clarity improves immediately, and your confidence in the data expands.
If you need professional support with your protein work, feel free to contact us anytime. I’m always happy to help guide you through SDS PAGE challenges and point you toward reliable solutions.
Let clarity become your standard, not your uncertainty.