In the world of cryptocurrency, security is not optional—it is essential. With increasing cases of hacks, phishing attacks, and exchange failures, self-custody has become the safest way to protect digital assets. This is where Trezor.io/start plays a critical role. It is the official onboarding page designed to help users safely set up their Trezor hardware wallet and take full control of their crypto holdings.
This blog provides a comprehensive guide to Trezor.io/start, explaining what it is, why it matters, how to use it correctly, and how it ensures the highest level of crypto security.
What Is Trezor.io/start?
Trezor.io/start is the official setup gateway for all Trezor hardware wallets. When you purchase a new Trezor device, this is the only recommended place to begin the installation and configuration process. The page acts as a secure bridge between your physical device and the software environment required to manage cryptocurrencies.
Unlike unofficial guides or third-party tools, Trezor.io/start ensures that users:
-
Download authentic software
-
Install verified firmware
-
Follow best security practices
-
Avoid phishing or counterfeit tools
Using this page significantly reduces the risk of compromised wallets during the initial setup.
Why Trezor.io/start Is Important
Many crypto losses occur not because of weak technology, but due to improper setup or user error. Trezor.io/start addresses these risks by providing a controlled, step-by-step onboarding process.
Key Benefits
-
Prevents fake software downloads
-
Ensures firmware integrity
-
Helps generate a secure recovery seed
-
Reduces exposure to online threats
-
Educates users on wallet security
For beginners and experienced users alike, starting at the correct setup page is the foundation of crypto safety.
Supported Devices at Trezor.io/start
Trezor.io/start supports all official Trezor hardware wallets, including:
-
Trezor Model One
-
Trezor Model T
-
Latest Trezor hardware releases
Each device follows a similar setup flow, with device-specific instructions clearly explained during the process.
Step-by-Step Guide to Using Trezor.io/start
1. Unbox and Inspect Your Device
Before connecting your Trezor, inspect the packaging carefully. It should be factory-sealed with no signs of tampering. A compromised package is a serious red flag.
2. Visit the Official Setup Page
Open a secure browser and manually type Trezor.io/start. Avoid clicking ads or links from emails or social media to prevent phishing attacks.
3. Connect Your Trezor Device
Use the original USB cable to connect your Trezor to your computer or supported mobile device.
4. Install the Required Software
The setup page will guide you to install the official desktop interface used to manage your Trezor wallet. This software enables interaction between your hardware wallet and the blockchain while keeping private keys offline.
5. Install Firmware
If your device is new, firmware will not be installed. Trezor.io/start ensures that:
-
Firmware comes directly from Trezor
-
Installation is verified on the device screen
-
No malicious code is introduced
Never use a device that arrives with pre-installed firmware.
Creating Your Recovery Seed
One of the most critical steps during setup is generating the recovery seed.
What Is a Recovery Seed?
A recovery seed is a list of 12, 18, or 24 randomly generated words that represent your wallet’s private keys. This seed is the only way to recover your funds if your device is lost, stolen, or damaged.
Best Practices
-
Write the words on paper (never digitally)
-
Store them offline in a secure location
-
Never share them with anyone
-
Do not take photos or screenshots
-
Consider using a metal backup for durability
Trezor.io/start walks users through this process carefully to ensure no mistakes are made.
Setting a Strong PIN
After generating the recovery seed, users are prompted to create a PIN.
Why the PIN Matters
The PIN protects your device from unauthorized physical access. Even if someone steals your Trezor, they cannot access your funds without the PIN.
Security Features
-
Randomized keypad layout
-
Increasing time delays after incorrect attempts
-
Device wipe after multiple failed attempts
This layered protection makes brute-force attacks virtually impossible.
Adding an Optional Passphrase
Advanced users can enable an additional security layer using a passphrase.
What Is a Passphrase?
A passphrase acts as a custom extension to your recovery seed, creating hidden wallets accessible only with the correct phrase.
Benefits
-
Protects against seed exposure
-
Enables multiple wallets under one seed
-
Ideal for long-term storage or high-value accounts
This feature is optional but highly recommended for experienced users.
Managing Crypto Assets After Setup
Once setup is complete, users can manage their digital assets securely.
Supported Cryptocurrencies
Trezor supports thousands of assets, including:
-
Bitcoin
-
Ethereum
-
Litecoin
-
Cardano
-
ERC-20 tokens
-
Many others
Portfolio management, transaction verification, and address generation all occur with hardware-level security.
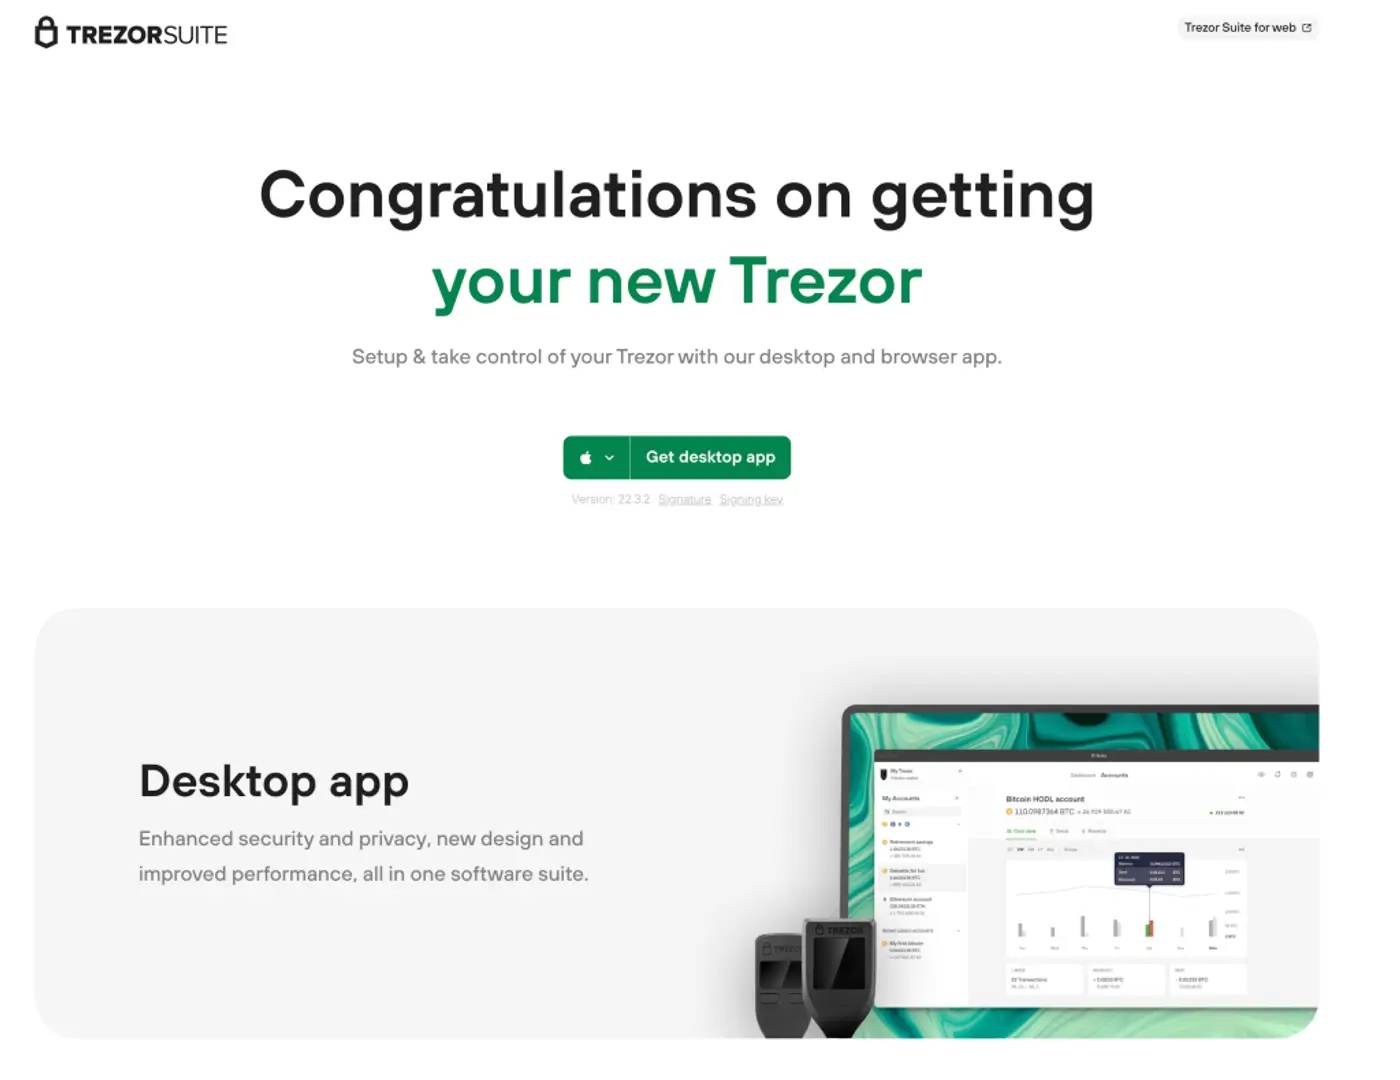
Using the Trezor Suite App (Limited Mention)
The Trezor Suite app is the official interface that allows users to view balances, send and receive crypto, and manage settings. It works seamlessly with the hardware wallet while ensuring private keys never leave the device.
It also includes:
-
Portfolio overview
-
Built-in exchange features
-
Privacy tools
-
Firmware updates
Security Advantages of Trezor.io/start
Offline Key Storage
Private keys never touch the internet, eliminating remote hacking risks.
Open-Source Technology
Trezor’s transparent code allows public verification of security mechanisms.
On-Device Verification
Every transaction must be physically confirmed on the device screen.
Phishing Protection
The setup process prevents interaction with fake websites or malicious software.
Common Mistakes to Avoid
Even with strong security, user errors can cause losses. Avoid these mistakes:
-
Storing recovery seed online
-
Sharing seed words with anyone
-
Downloading software from unofficial sources
-
Skipping firmware verification
-
Ignoring device screen confirmations
Trezor.io/start emphasizes correct behavior to minimize these risks.
Who Should Use Trezor.io/start?
This setup process is ideal for:
-
Crypto beginners seeking safety
-
Long-term investors (HODLers)
-
Traders managing large balances
-
Privacy-focused users
-
Anyone moving funds off exchanges
If you value ownership and control of your assets, starting at the official setup page is essential.
Long-Term Maintenance and Updates
Security doesn’t end after setup. Trezor.io/start also helps users understand:
-
How to update firmware safely
-
When updates are necessary
-
How to verify authenticity
-
How to back up recovery information
Regular updates improve functionality without compromising security.
Why Trezor.io/start Is the Trusted Standard
Trezor was the first hardware wallet ever created, and its setup process reflects years of security expertise. Trezor.io/start is not just a webpage—it is a security framework designed to eliminate weak points during the most vulnerable stage of wallet ownership.
By following this official path, users gain:
-
Full asset ownership
-
Maximum protection
-
Confidence in self-custody
-
Peace of mind
Final Thoughts
In an ecosystem where security breaches are common, Trezor.io/start stands as a trusted entry point into safe cryptocurrency management. From verified firmware installation to recovery seed protection, every step is engineered to put users in control.
Whether you are new to crypto or a seasoned investor, using the official setup process ensures that your assets remain secure today and in the future. Self-custody is a responsibility—but with the right tools and guidance, it becomes a powerful advantage.